
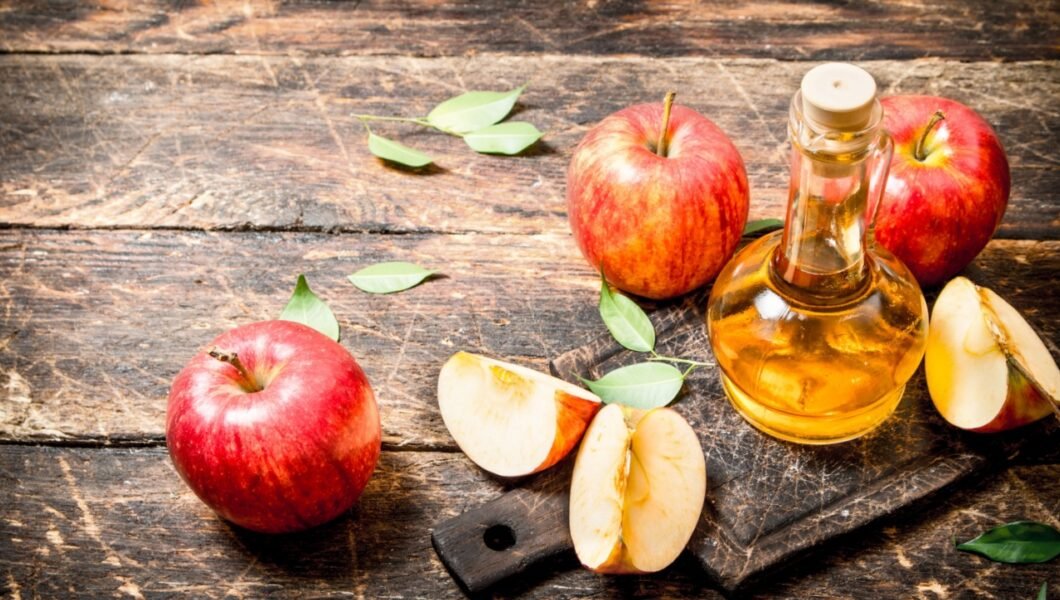
It’s apple harvesting time at the Quiet Harvest, and that means it’s time to make apple cider vinegar. If you’ve never had the joy of creating your own, it’s deeply satisfying and something you can easily do!
There’s something deeply satisfying about making vinegar from apple peels and cores—the parts most people toss away. It feels like alchemy, turning leftovers into something living, useful, and full of quiet purpose. Homemade apple cider vinegar connects you to the old rhythm of kitchen craft: a little patience, a clean jar, and nature doing what it’s always done.
This process doesn’t need special equipment or store-bought starters. Just time, air, and good apples. Every batch feels a little different—sweet at first, then sharp, then wonderfully tangy. And when it’s ready, you’ll have something that can flavor dressings, preserve vegetables, clean your kitchen, or even support your health.
At The Quiet Harvest, we sometimes recommend products that make homesteading, cooking, and cozy living a little easier. When you click on one of our Amazon or affiliate links and make a purchase, we may earn a small commission—at no extra cost to you. It’s one way we keep this space thriving, so we can continue sharing recipes, garden wisdom, and quiet living inspiration. Thank you for supporting us in this simple, meaningful way.
What you’ll need
Apple scraps: Peels, cores, or bits left over from cooking or canning. You’ll need enough to fill a jar about halfway.
Sugar: About one to two tablespoons per cup of water. This feeds the natural yeasts that start fermentation.
Water: Filtered or dechlorinated water is best. Chlorine can slow the fermentation.
A clean glass jar: Mason jars work beautifully.
A breathable cover: Cheesecloth, a coffee filter, or a thin cotton cloth held with a rubber band.
Step 1: Fill your jar
Gather your apple scraps in a clean jar until it’s about halfway full. Don’t pack them tightly—leave space for airflow and liquid. Use fresh, organic apples when possible. If they’ve been sprayed or waxed, give them a good rinse first.
Step 2: Add water and sugar
Dissolve the sugar in water, then pour it over the scraps until they’re fully submerged. Leave about an inch of headspace at the top. Stir gently with a clean spoon to mix. If any pieces float, weigh them down with a small glass weight or a clean rock boiled in water. Keeping them below the surface helps prevent mold.
Step 3: Cover and wait
Cover the jar with your cloth and secure it with a band or string. This keeps dust out but allows natural yeasts from the air to find their way in. Set the jar somewhere dark and warm—like a pantry shelf or cupboard—for about two to three weeks. Stir once every few days to help release bubbles and keep everything evenly mixed. You’ll notice a faint sweetness at first that gradually turns to a mild, vinegary scent.
Step 4: Strain and ferment again
After a few weeks, strain out the apple pieces using a fine sieve or cheesecloth. Pour the liquid back into the clean jar. Cover it again with the breathable cloth and let it sit for another three to four weeks. During this stage, the alcohol produced from the first ferment transforms into acetic acid—the vinegar itself. A cloudy layer or “mother” may form on the surface; this is a natural and healthy sign that your vinegar is alive and thriving.
Step 5: Taste and store
After about a month, taste a small spoonful. If it has the tang you like, it’s ready. If not, let it sit another week or two until the flavor deepens. Once it tastes right, cover it with a tight lid and store it in a cool, dark place. It will last indefinitely and continue to develop in flavor over time.
Ways to use your homemade vinegar
In the kitchen: Add a splash to salad dressings, marinades, or soups for brightness.
Around the home: Mix with water for an all-purpose cleaner that smells faintly of apples.
For wellness: Stir a teaspoon into warm water with honey to start the day gently.
In the garden: A diluted mix helps clean pots and tools naturally.
A quiet craft that keeps giving
Making apple cider vinegar is more than a recipe—it’s a slow act of connection. You begin with what you already have and end with something that continues to serve, season, and heal. Each jar is a reminder that nothing in nature is wasted; everything can be transformed with time and care.


No Comments